Managing webshops
This guide will help you know how to administrate WooCommerce webshops. WooCommerce websites use the WordPress back-end, so check out this guide if you need to amend content and this guide if you need to add regular content. Your Nettl studio will help set up the webshop to meet your requirements, however you will need to know how to manage products, to update the website when product prices change or new products arrive, and how to manage orders, to notify customers when an order has been despatched or fulfilled.
Mananging products
WooCommerce products can be edited and administrated through the Products menu
Here you can view all your products, and either search for the product you want to adjust or use the filters to restrict the list to just show a specific category or product type.
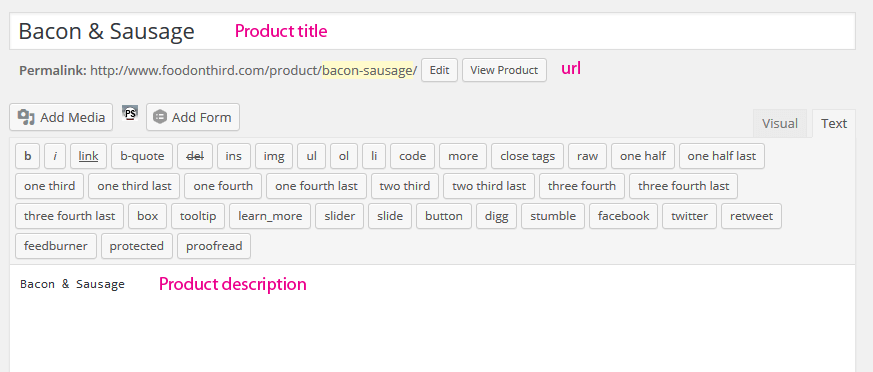
Click a product and you’ll be able to change how it displays online. The first text box is where you place the product title. This shows on the product search pages and on the product individual page. The larger text area is where you can add a description of your product. Try to make your description helpful to customers and remember that more unique, relevant and helpful descriptions are good for both customers and search engines.
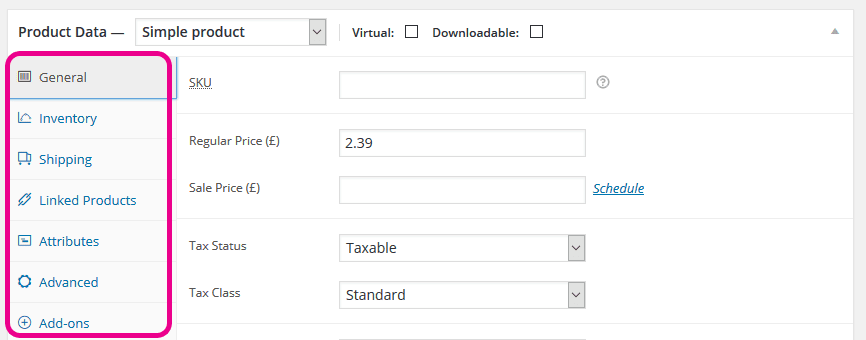
Scroll down and you’ll see various product settings, grouped into vertical tabs.
In the General tab, you can change the product price and set a sale price if you want to offer a short term promotional offer. You can use the Inventory tab to change the product stock. For more details on the product options available, check out WooCommerce’s guide on managing products.
If you look to the right hand side, there are other useful options for managing your product images, categories and publish settings.
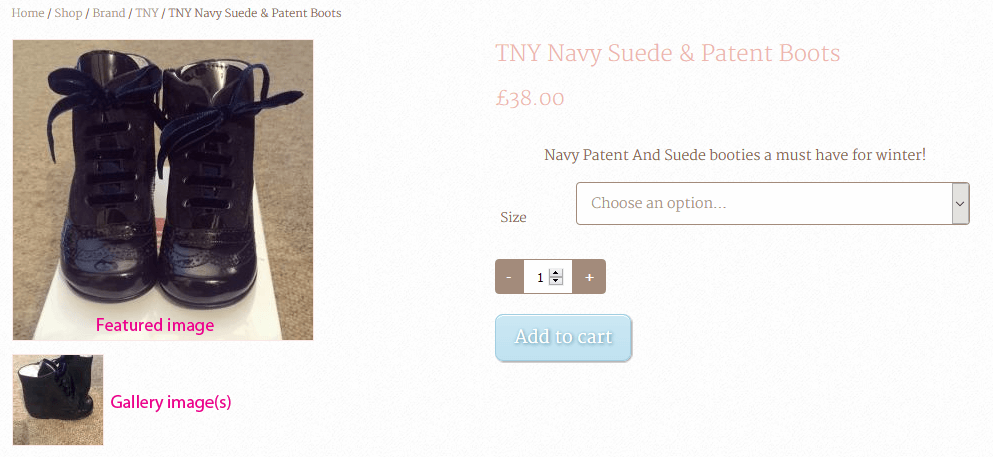
Use the Featured image section to upload or choose the main image you want to associate with this product. The featured image shows on search pages and as the largest image on your product page. You can also add multiple Gallery images that show underneath the featured image to highlight different variations or features of your product.
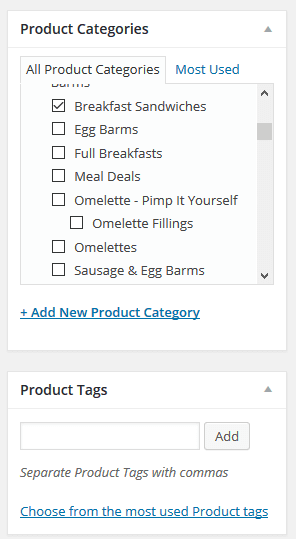
WooCommerce categories and tags are important for helping your customers find the right products. Categories can be used to create dedicated search listing pages for just products in the same category, while tags are used to help customers search for similar items. These can be edited on your product page, you will find them on the right hand side between your featured image and gallery image.
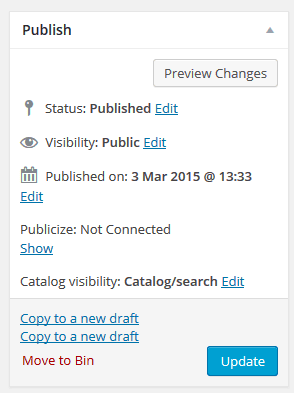
Finally you’ll need to understand how to change your product visibility settings. In the right side Publish section, you can choose whether the product should be published and visibilty to everyone, or whether it should still only be in draft.
While a product is just a draft or pending review, customers will not be able to see it. Use these publish statuses while the product is being worked on or to set a publish date in the future if you want to only make products available after a new stock take comes in. To change the publish status, visibilty or publish time, simply press the blue “Edit” link and choose the option you need. Remember to press Update after you make any change, or your changes won’t have saved.
Different product types
There are different product types you can use with WooCommerce:
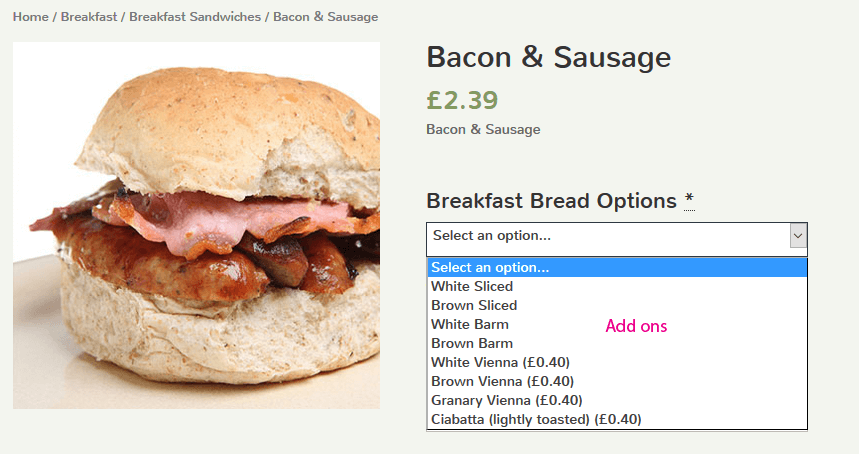
Simple products with have an image, text description and price. However, you can also use product add ons with simple products to provide an additional service or option for an additional cost of your choice.
Grouped products can be used to show a list of several different products you’ve already created. This can be used to help someone configure a bundle of similar products, for example you could create a simple downloadable product for 11 tracks in a music album and then have a grouped product for the album containing all tracks.
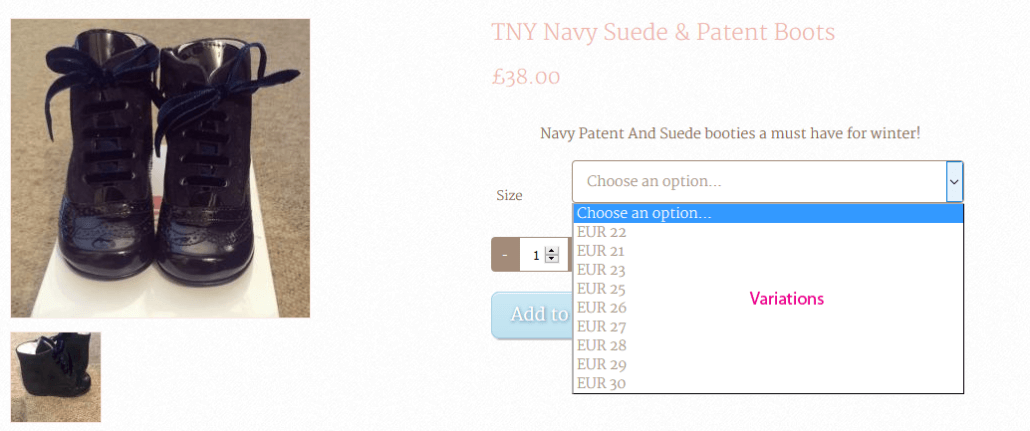
Variable products allow you to add several variations of a product, such as a dress in multiple different sizes or colour combinations. Variations differ from product add ons as variations can have their own stock levels and their own product images, while add ons can only carry information and a price. For more information on setting up variable products, check out WooCommerce’s advice on variations.
More information on setting up WooCommerce products can be found on their website.
Managing orders
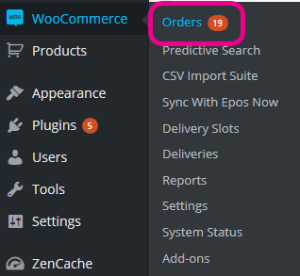
To manage orders head to the WooCommerce > Orders menu
Here you’ll see all your online orders, sorted by the most recent. The icon in a circle shows you quickly what the order status is. A green circle with “…” means the order is in progress and hasn’t been completed yet. The red circle with a “x” means the order was cancelled. The blue circle with a tick means the order is complete.
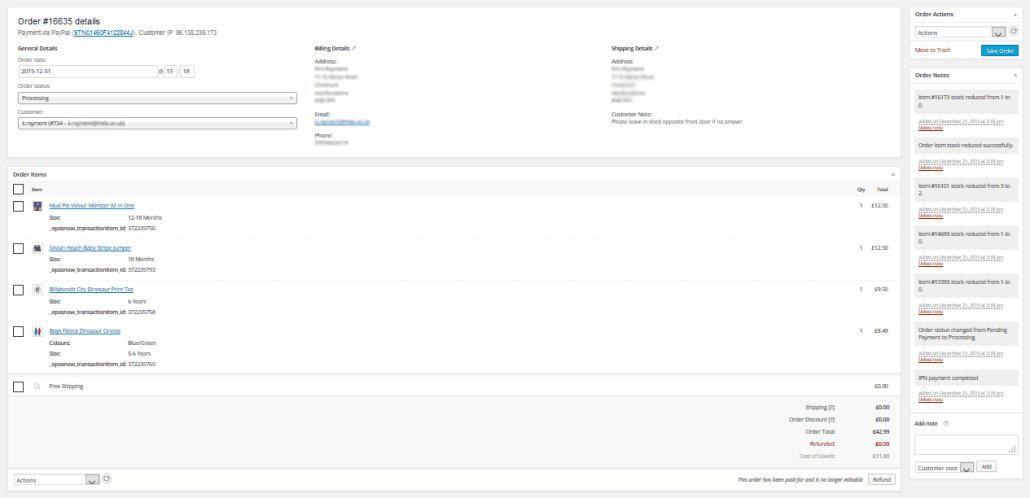
Click an order number to view the full order details.
The order detail will show you the customer’s name and delivery address, details of which items they ordered, and the price of the order. You can also see a history of when the order was paid for and last updated along the right hand side. Use the order Actions or Order status dropdown to update the order status to complete when it’s been shipped, or cancelled if you’ve had to refuse the order.


